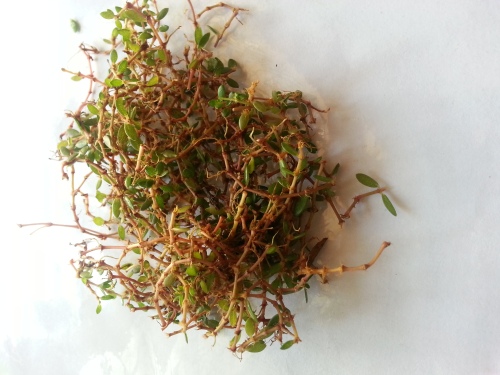
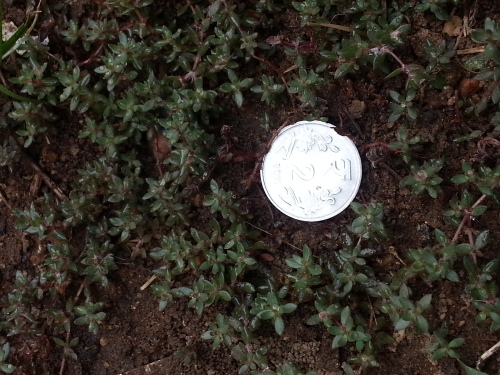
If there is a green variety that is not available in Chennai markets but in our native village , it is pasarai.
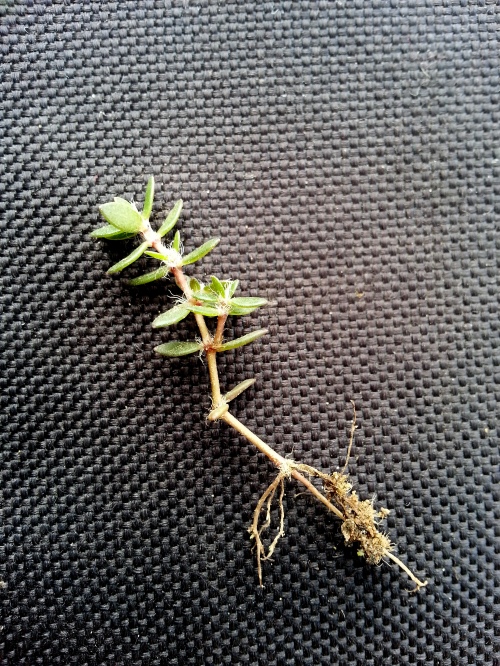
It is pearl sized tiny greens that spreads on the garden floor. It requires the least attention from the gardener , requires minimal water. The tiny succulents cover the earth as a thick blanket with tiny yellow flowers. So they are also called as ‘payviri’ in tamil 🙂
It is also called as “Siru pasalai” , “Tharai Pasalai” in Tamil and chicken weed in English.
 Botanical name: Portulaca quadrifida
It belongs to the family of purslane and according to this article , it is “Used for asthma, cough, urinary discharges, inflammations and ulcers.”
Facts apart , most of the city dwellers know them as herb, whereas , back home, my mom cook a delicious meal out of them . The tiny leaves are going to take some of your precious time to sort out , but believe me, it is worth every second spent . The plant roots at every joint , so you need to separate the stem and leaves out . For me , it easily takes 30 minutes to sort and get just a fistful of cookable greens.

The recipe is simple like any other musical, but the taste is extraordinary and no other greens can give such an aroma and flavor to the dish.
Ingredients:
Toor dall – 1/2 cup
Pasarai keerai – fistful
Medium Onion -1 ( cubed )
Big tomato – 1 (cubed)
Dry red chillies – 5 numbers
Garlic – 10 small cloves ( or 5 big cloves )
Tamarind – Lemon size.
Method :
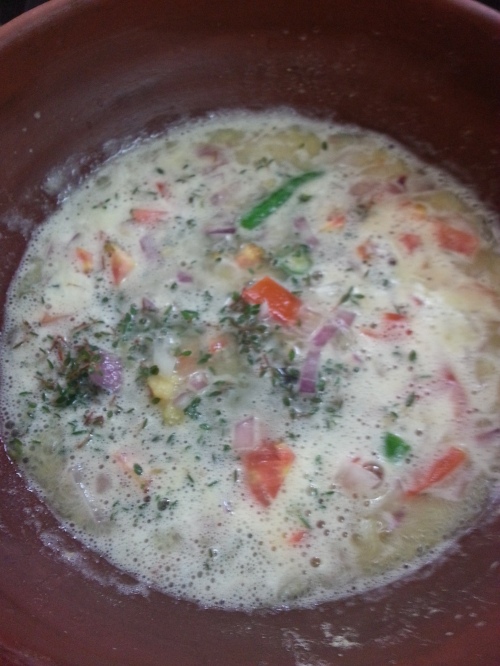
Pressure cook toor dall and chilled , add the greens , onion , tomato , garlic . Cook them till the greens are thoroughly cooked . It takes relative longer time to cook the succulent pearls than the other amaranthus kind of leaves. You can pressure cook them again if you want, I cooked them in an earthen pot on simmer. Take care not to add water more than what is needed to cook the veggies. When cooked, drop the tamarind in the hot mixture. This softens the tamarind but not fully cook it. This is a key trick not to cook the tamarind as the rawish taste of tamarind adds a nice punch to the dish . The dall is smashed with salt added and never returns to the stove. The smashing – You can use Kal Chatti and mathu , the traditional tools or a hand blender will also do the job in a hurry. When the dhall is pureed , stop the churning and prepare the tadka .
Tadka :
Oil
Curry leaves
Vadagam
Heat 2-3 tablespoons of oil in a kadai , splutter the crushed vadagam (If not , mustard and urad dall) followed by the curry leaves.
While it is still hot , pour it on top of the dall. Churn quickly to integrate the tadka into the dish. By now,the aroma might have invited all you family members to the dining table . 🙂
Enjoy the masiyal with hot rice and rice papads.

PS: If you are on a mission to grow these in your backyard, terrace or balcony , save those remains of the keerai stems , lay them gently on the soil, in couple of weeks time, you will see the green carpet decorating your garden space.